- Open http://office.cloudappsbackup.com/ in your browser.
2. Click Sign in to services. Select the service you want to sign in.
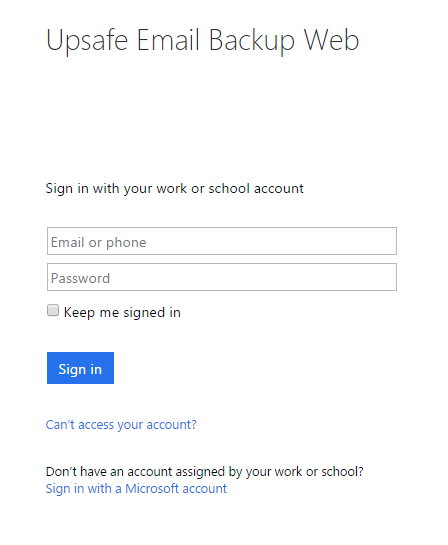
3. Sign in with your work or school account.
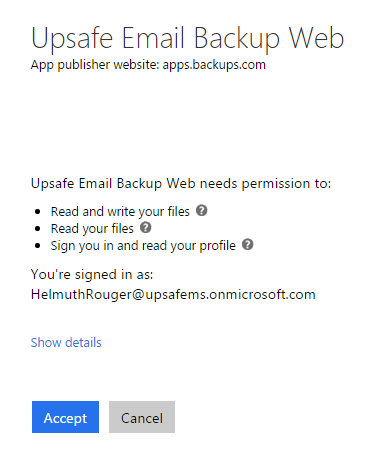
4. Grant permission to your data.
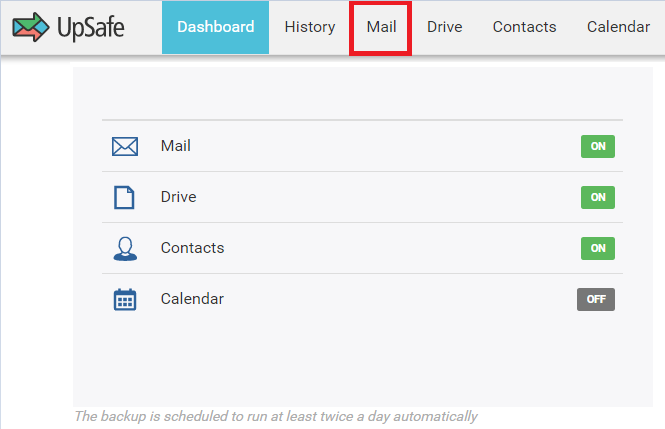
5. On the Dashboard page, click Mail and you will be brought to Mail backup page.
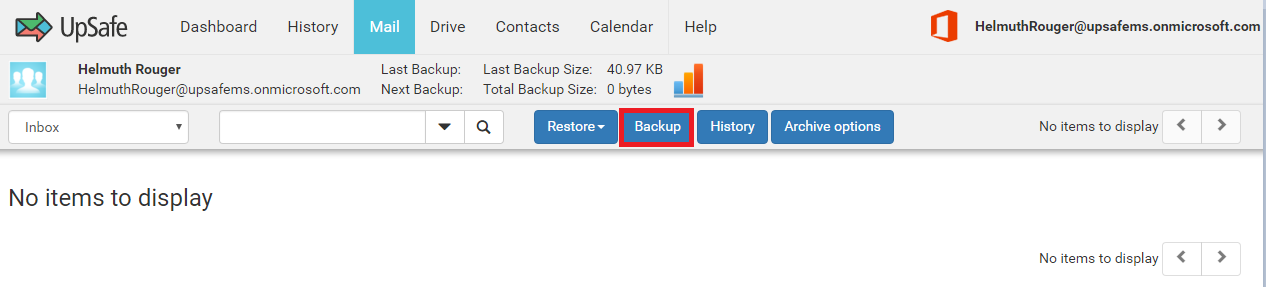
6. Currently, there are no items to display because we have not yet performed the backup.

7. You can manually backup the user quickly. Click the Backup button. Give it a moment to finish backing up and then you can refresh the page.
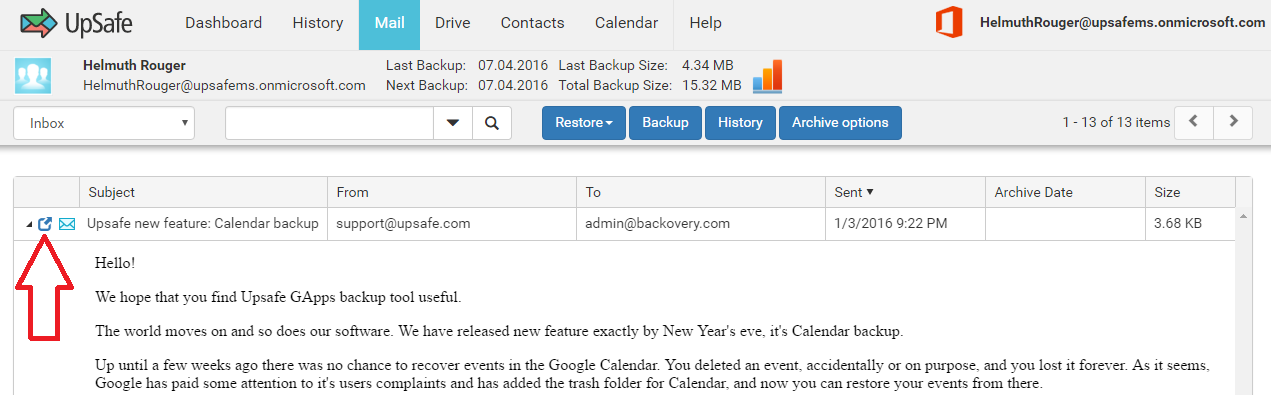
8. Now you will see a list of all emails that have been backed up.
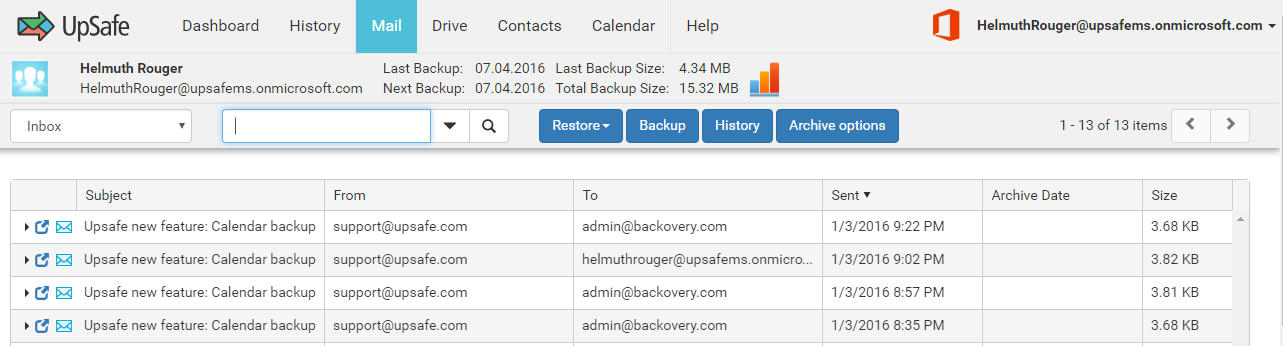
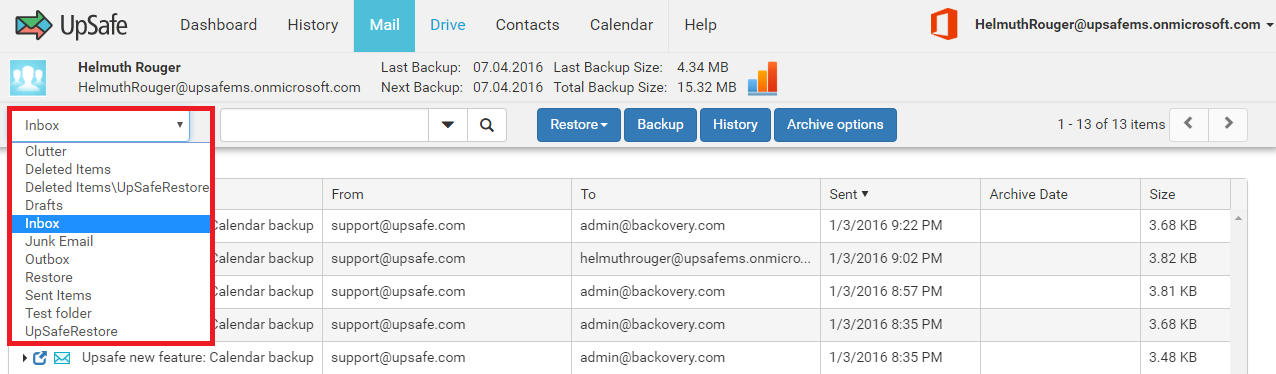
9. You can sort messages by email folder.
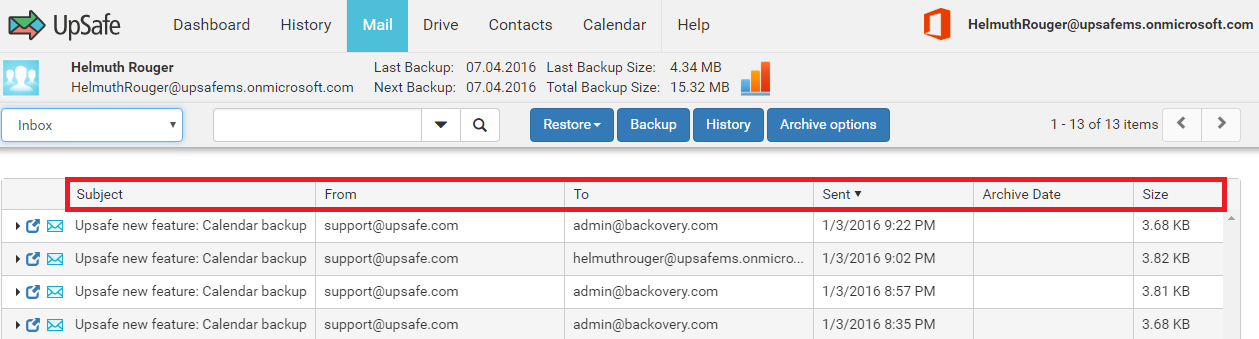
10. You can see the email subject, who sent them, who received the emails, the date, the archive date, the size.
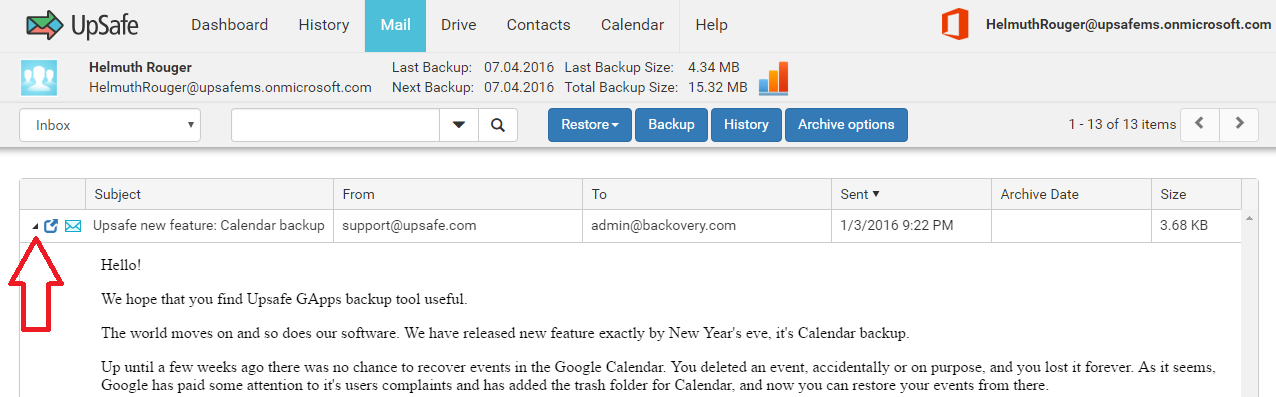
11. Click the drop-down arrow next to the email subject and you can see a quick preview of the email contents including text and images.
12. Click this button and email will open in a separate browser window.
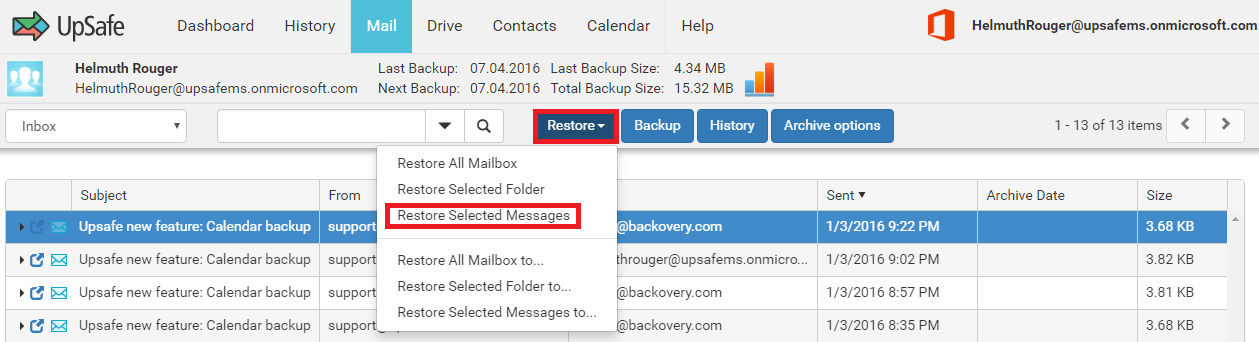
13. Now that your email has been backed up you can restore any message to your Office 365 account. Click any email to select it and then click the Restore button drop-down and choose Restore Selected Messages. The email now will be restored to your email account. Log into your email account and navigate to the Restore folder and here you can see the email we just restored.
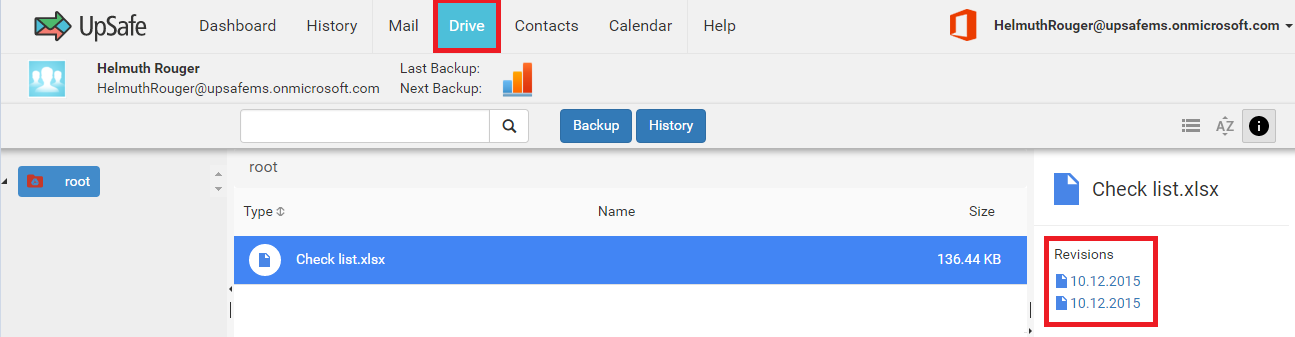
14. Click Drive. You will see a list of your OneDrive items. Each item contains a list of revisions. Each revision can be downloaded on your computer. In order to accomplish that, left-click a revision that you want to download.
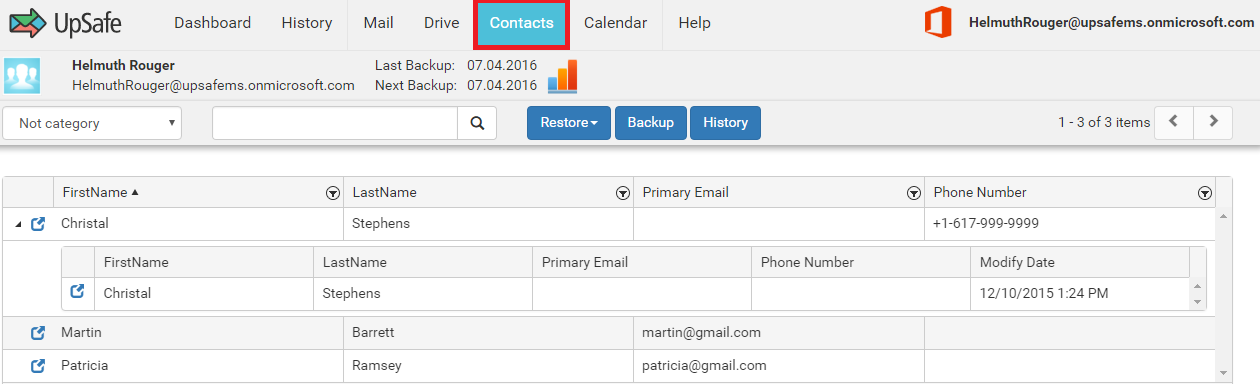
15. Click Contacts. You will see a list of your Office 365 contacts. Each contact contains a list of revisions.
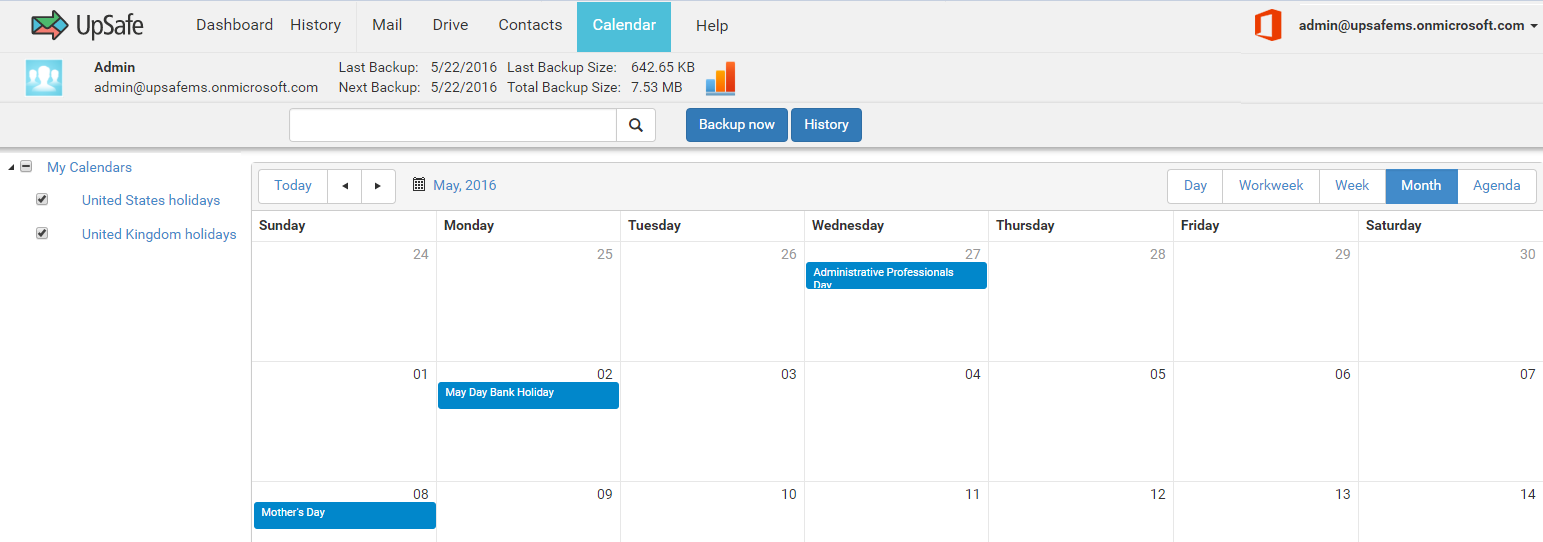
16. Click the Calendar page. You will see your Calendar Events.
The backup is scheduled to run at least 4 times a day automatically