- Open http://gapps.cloudappsbackup.com/ in your browser.
2. Click Sign in to services. Select the service you want to sign in to.
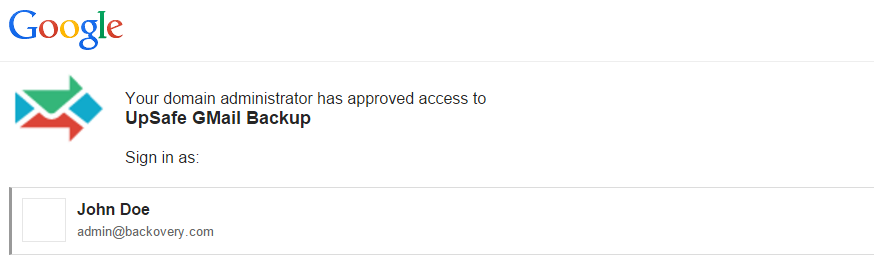
3. Sign in as administrator.
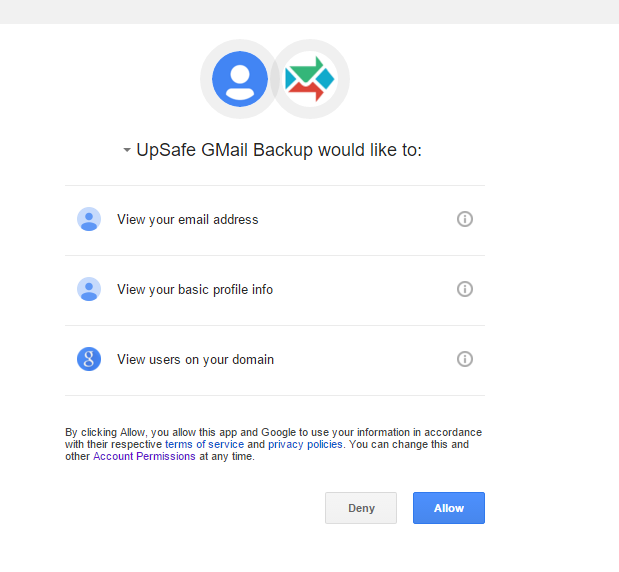
4. Allow the app and Google use your information according to their respective terms of service and privacy policies.
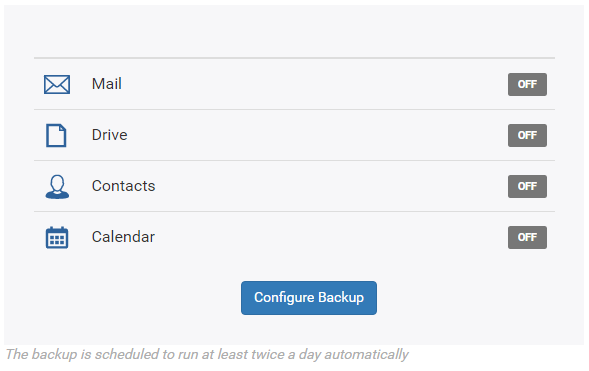
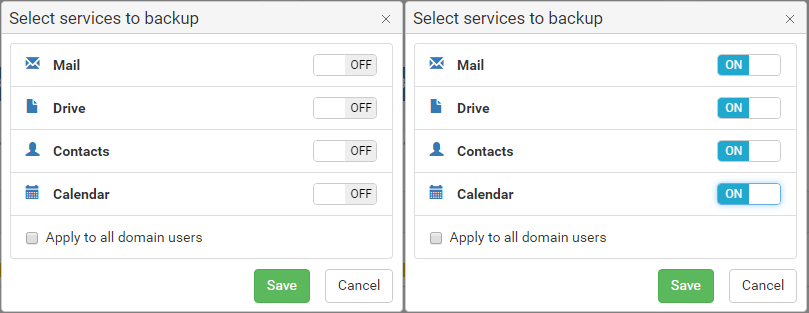
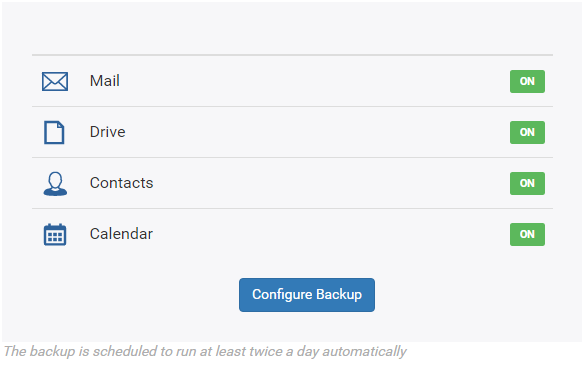
5. On the Dashboard page, select services to backup for your domain by clicking Configure Backup. After selecting services click Save.
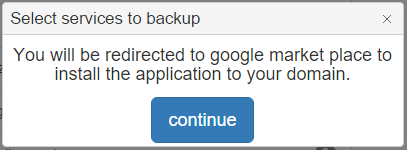
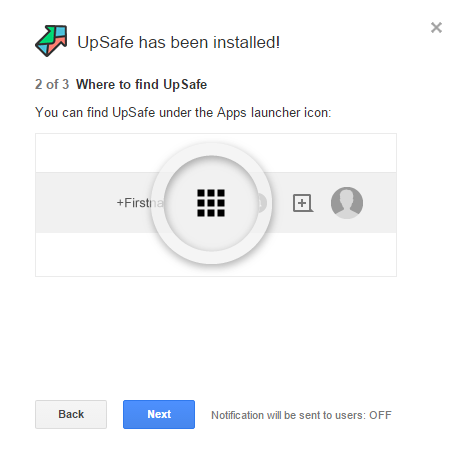
6. Click Continue to be redirected to the Google Market to install the app to your domain.
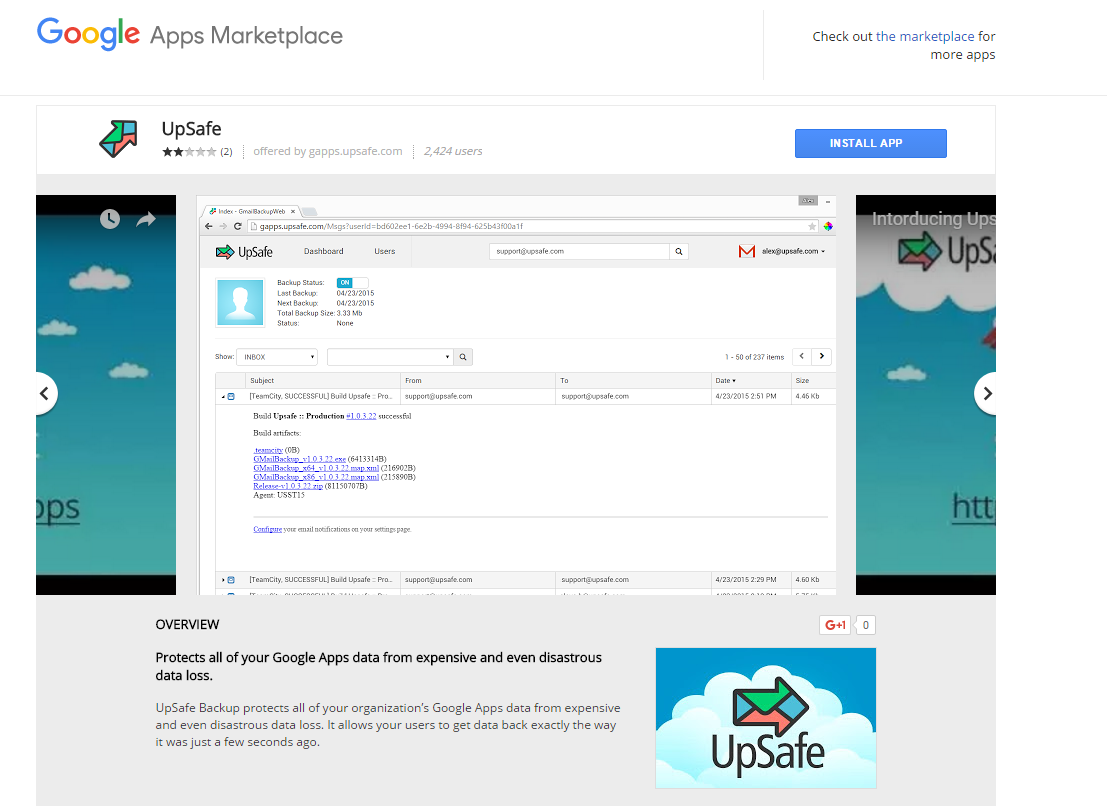
7. Click Install App.
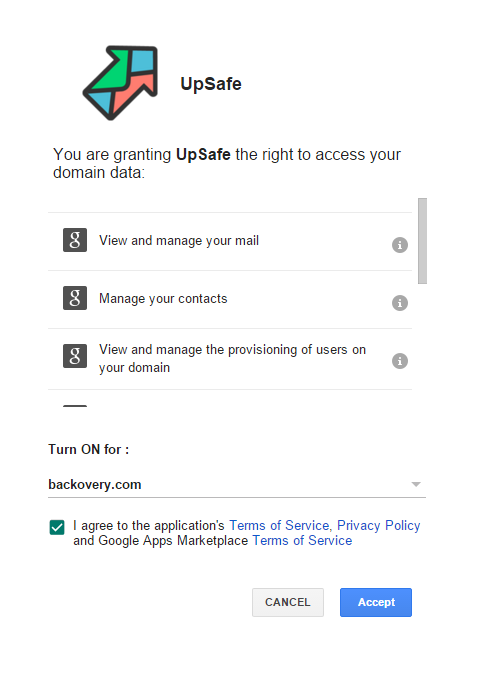
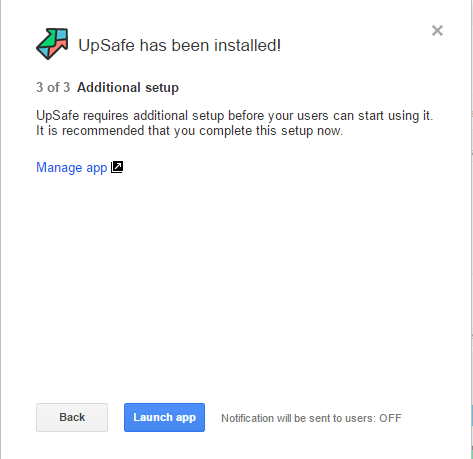
8. Grant UpSafe the right to access your domain data.
9. Set up the app.
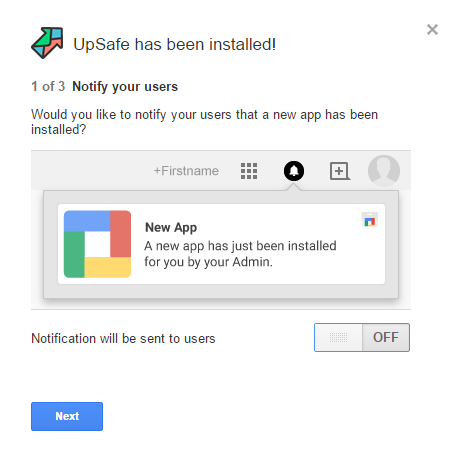
10. After installing the app you will be sent back to the Dashboard page. Services for your domain will be enabled according to your settings.
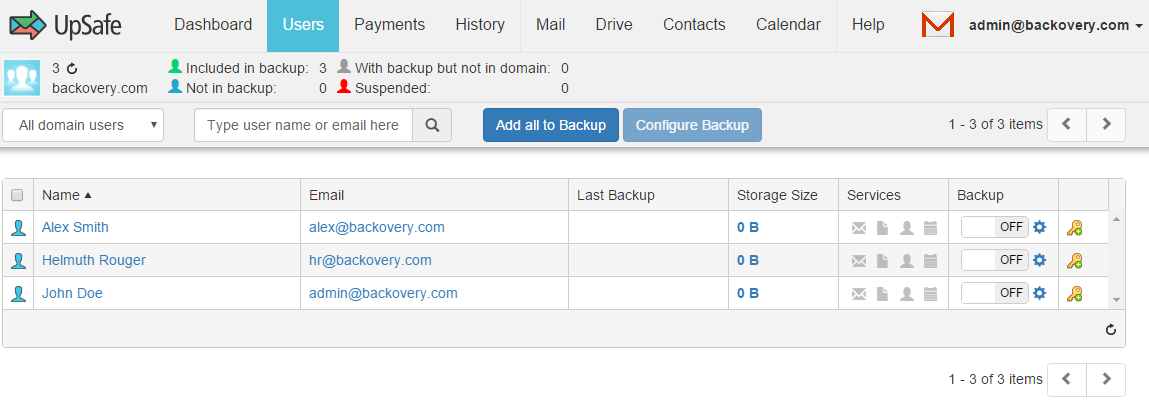
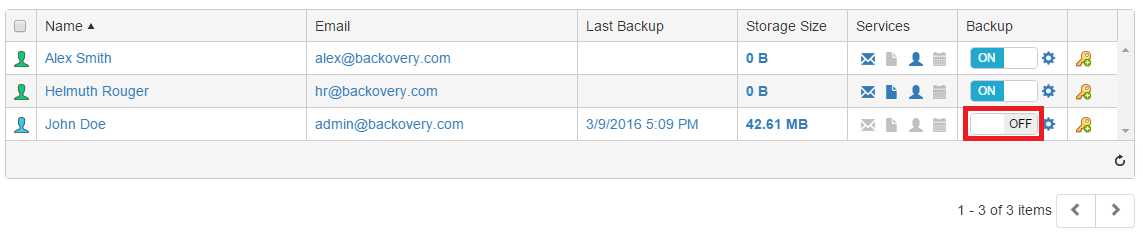
11. On the Users page, you can add users to backup, disable or enable backup services for each or for all users.
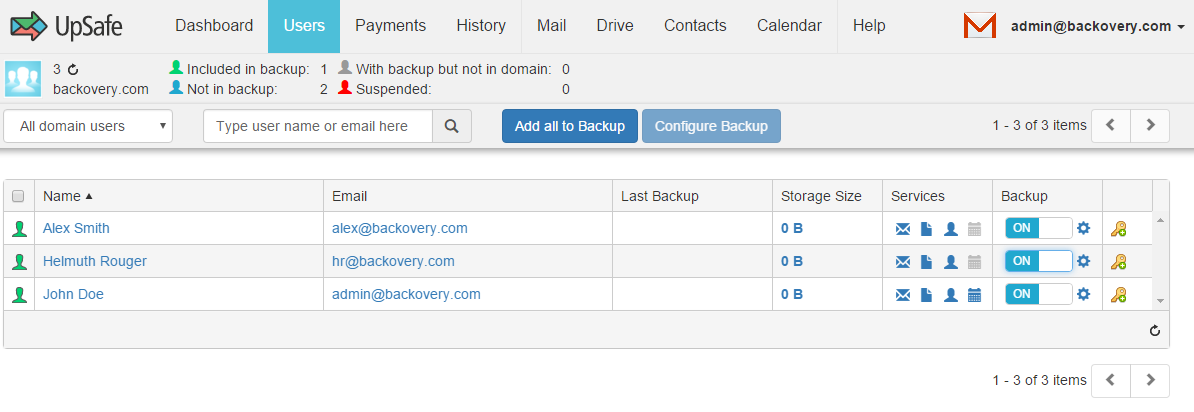
12. In order to add new users click the refresh icon.
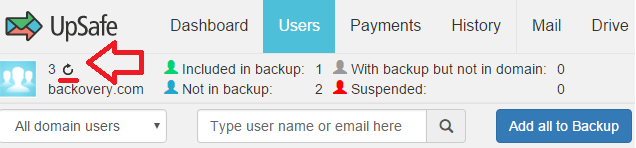
13. In order to exclude users from the backup, click the ON/OFF button.

14. You can select services you want to back up for each user. Click the gear icon to enable/disable services for a user.

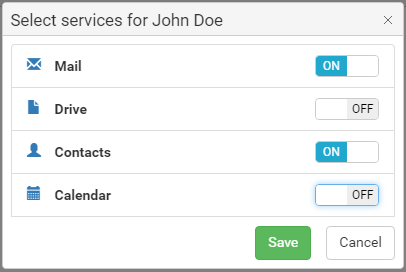
15. Service icons indicate the state of services. Blue is for enabled services. Grey is for disabled services.

16. Click the enabled service icon to open a related page.

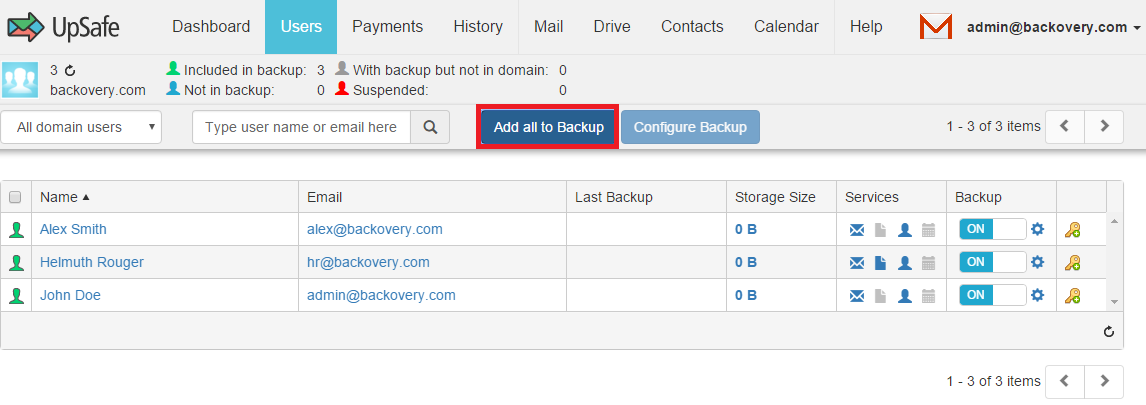
17. If all users are disabled on the User page, you can click Add all to backup to enable all users.
18. Click any user from the list and you will be redirected to the Mail backup page. Currently, there are no items to display because we have not yet performed the backup.


19. You can manually backup the user quickly. Click the Backup now button. Give it a moment to finish backing up and then you can refresh the page.

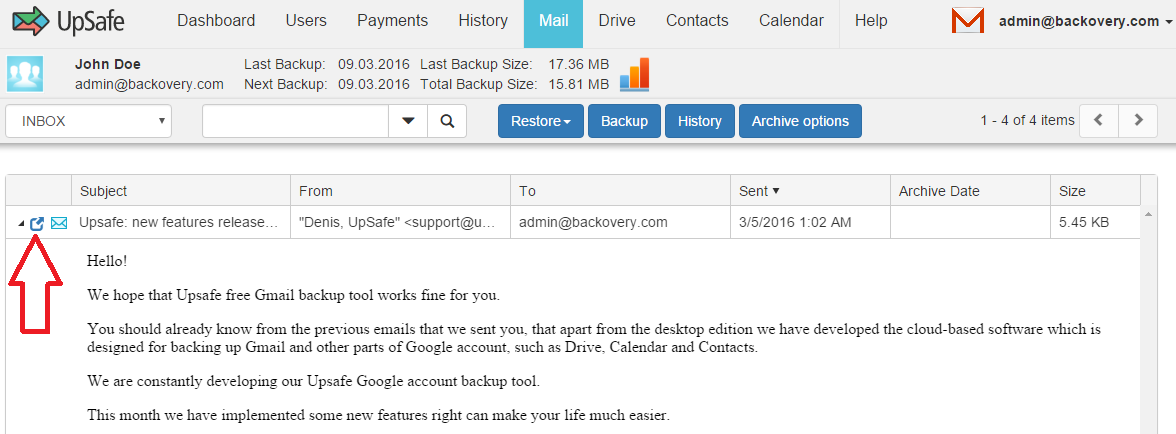
20. Now you will see a list of all email messages that have been backed up.
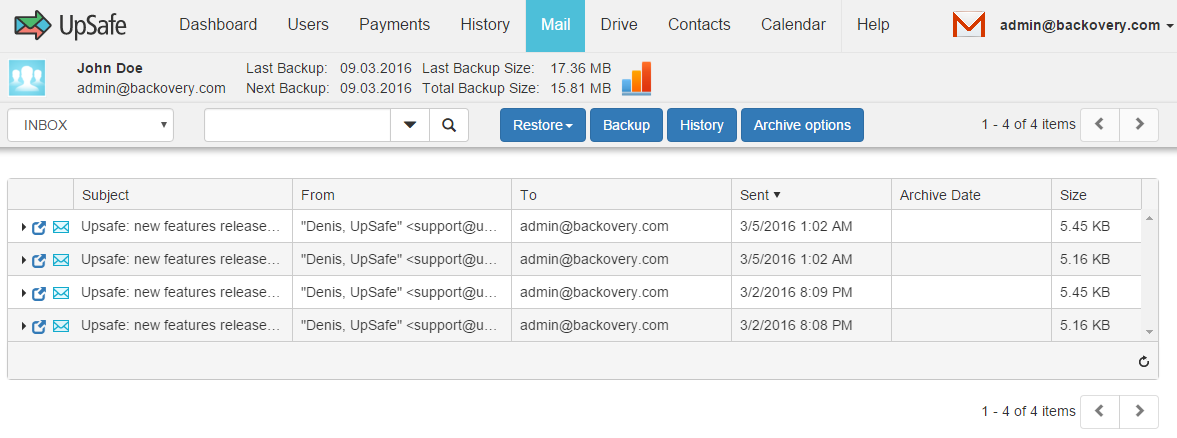
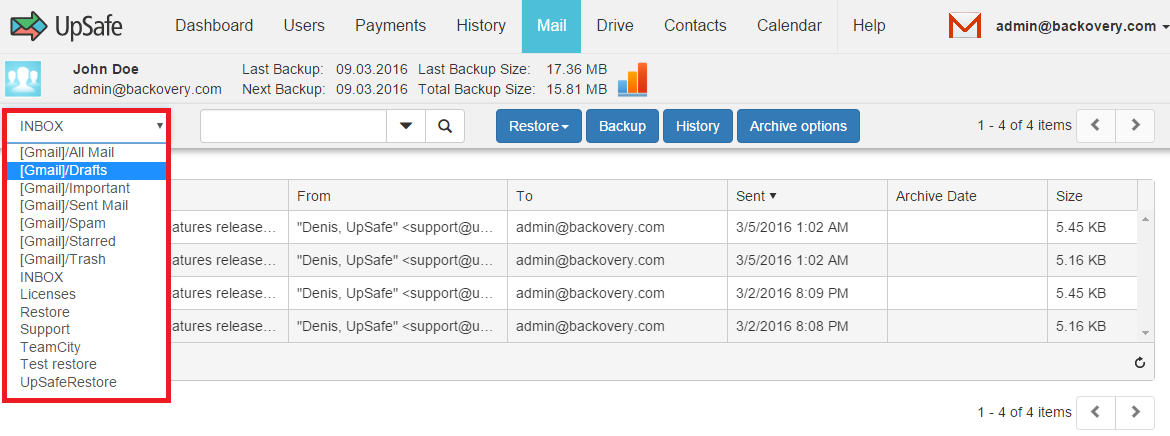
21. You can sort messages by email folder.
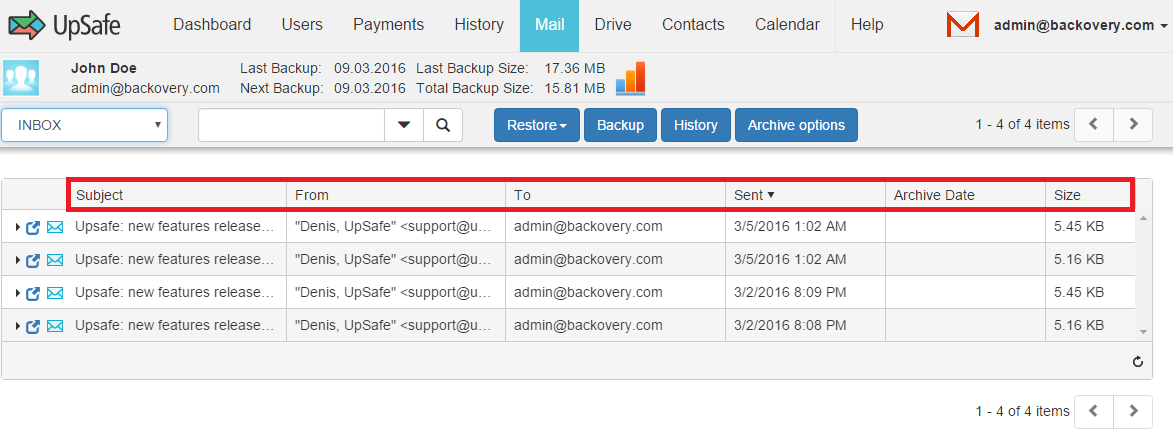
22. You can see the email message subject, who sent them, who received the email messages, the date, the archive date, the size.
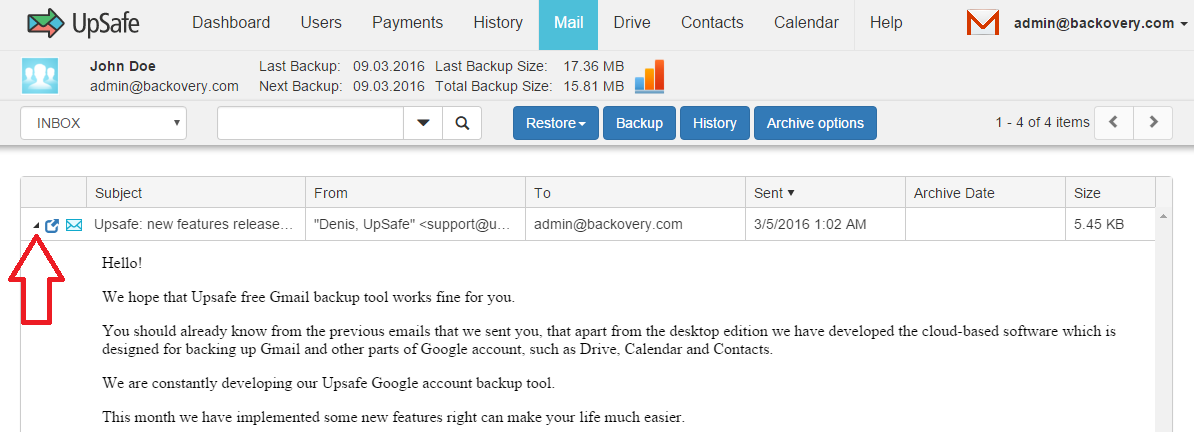
23. Click the drop-down arrow next to the email subject and you can see a quick preview of the email content including text and images.
24. Click this button and the email message will open in a separate browser window.
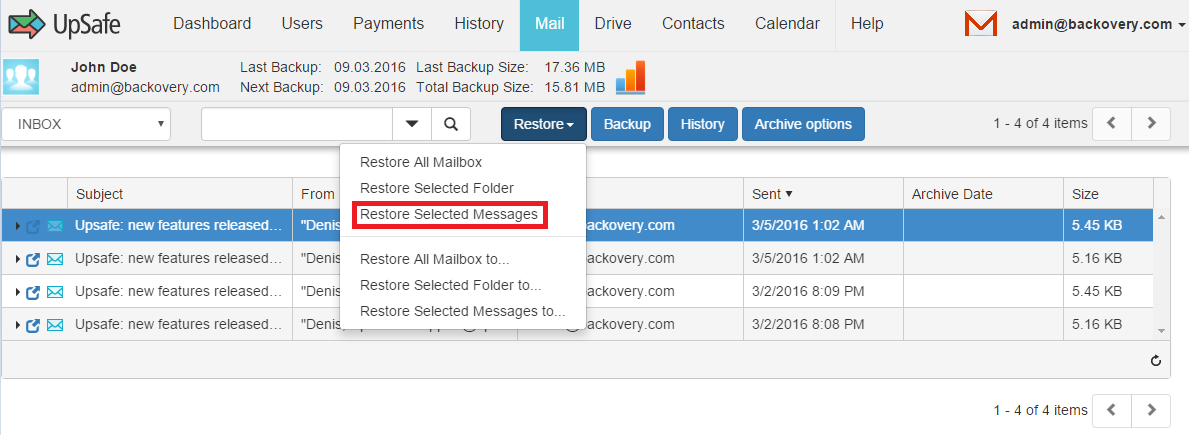
25. Now that your email has been backed up you can restore any message to your Gmail account. Click any email message to select it and then click the Restore button and choose Restore Selected Messages. The email message now will be restored to your email account. Sign into your email account and navigate to the Restore folder and here you can see the email message we just restored.
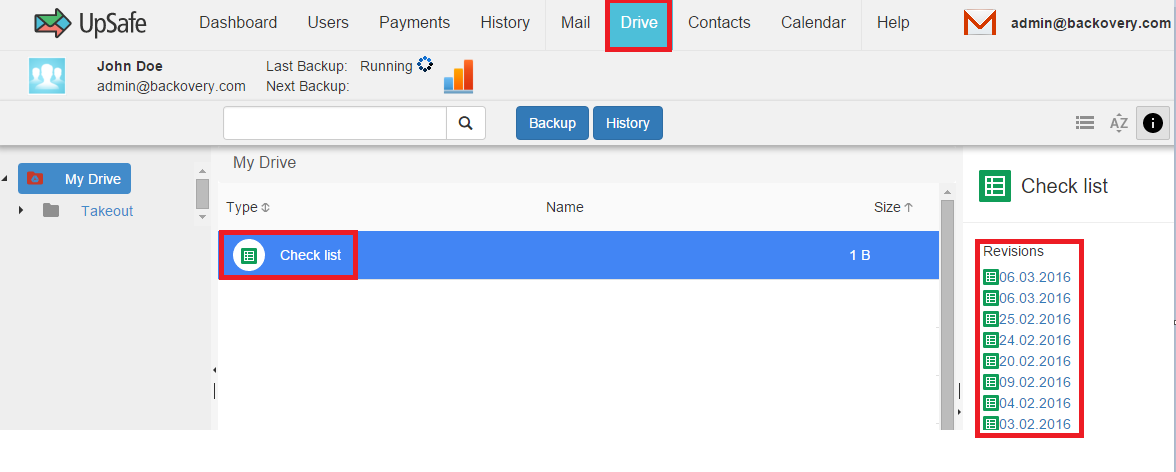
26. Click the Drive page. Click the Backup now button. You will see the list of your Google Drive items. Each item contains a list of revisions. Each revision can be downloaded on your computer. In order to accomplish that, left-click a revision that you want to download.
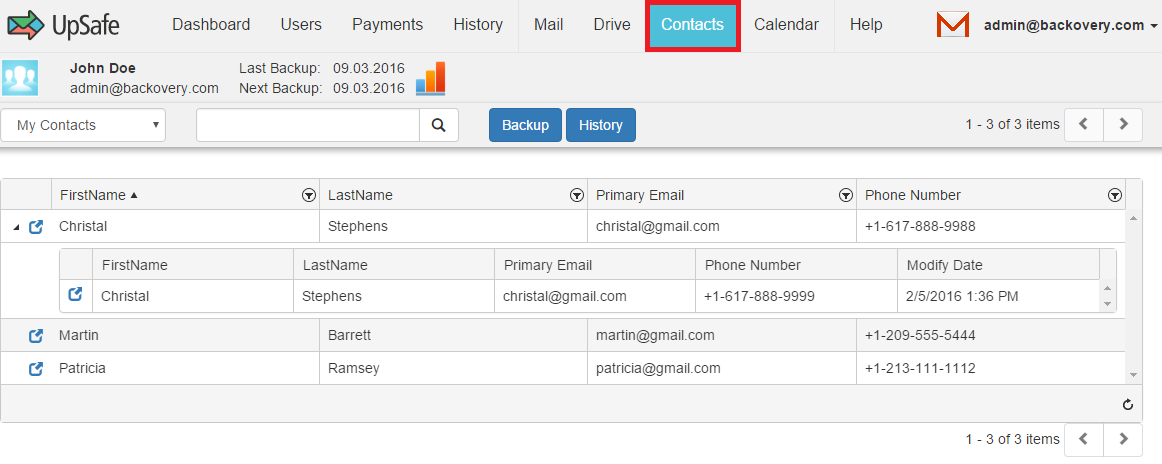
27. Click the Contacts page. Click the Backup now button. You will see a list of your Google Contacts. Each contact contains the list of revisions.
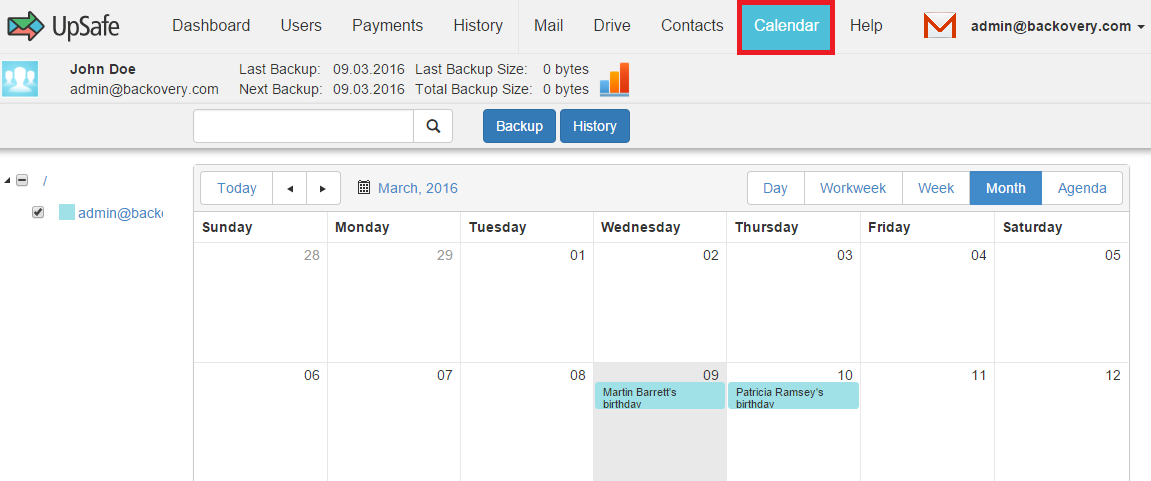
28. Click the Calendar page. You will see your Google Calendar Events.
29. If a user is not selected for backup, then the user will not be able to sign in to Google Apps Backup.
30. You can add alternate email addresses to your users and use them to sign in, recover passwords, delete backups. Click the key icon associated with the user you want to add the alternate address on the Users page.

31. In the pop-up window, enter the alternate email address and password. You can use any email, it even doesn’t have to be a Gmail address. Once you’ve clicked on the Save button, you should receive a verification message at the email address you just entered. Click the verification link in the email sent to your alternate email address.
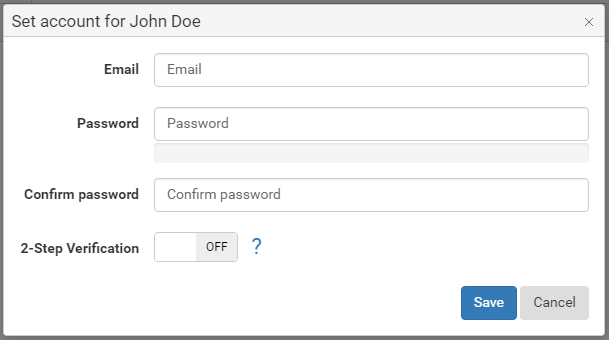
32. After adding the alternate email address, enable 2-Step Verification if you need to have an extra layer of protection. Enter your alternate email password. Scan the barcode, enter the 6-digit verification code generated by the Authenticator app and click on the Save button.
Please follow the steps below to install the Google Authenticator app.
1. On your phone, go to the Google Play or Apple App Store.
2. Search for Google Authenticator.
3. Download and install the application.
Now open and configure Google Authenticator.
1. In Google Authenticator, touch Menu and select “Set up account.”
2. Select “Scan a barcode.”
3. Use your phone’s camera to scan this barcode.

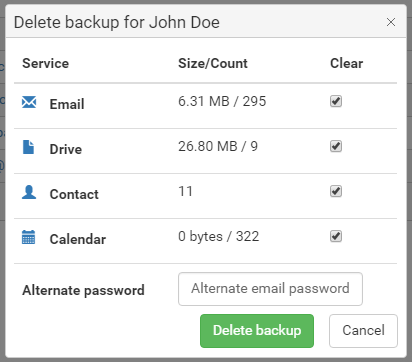
33. To delete user backups click the Bin icon. Enter your alternate email address password. Click Delete Backup.

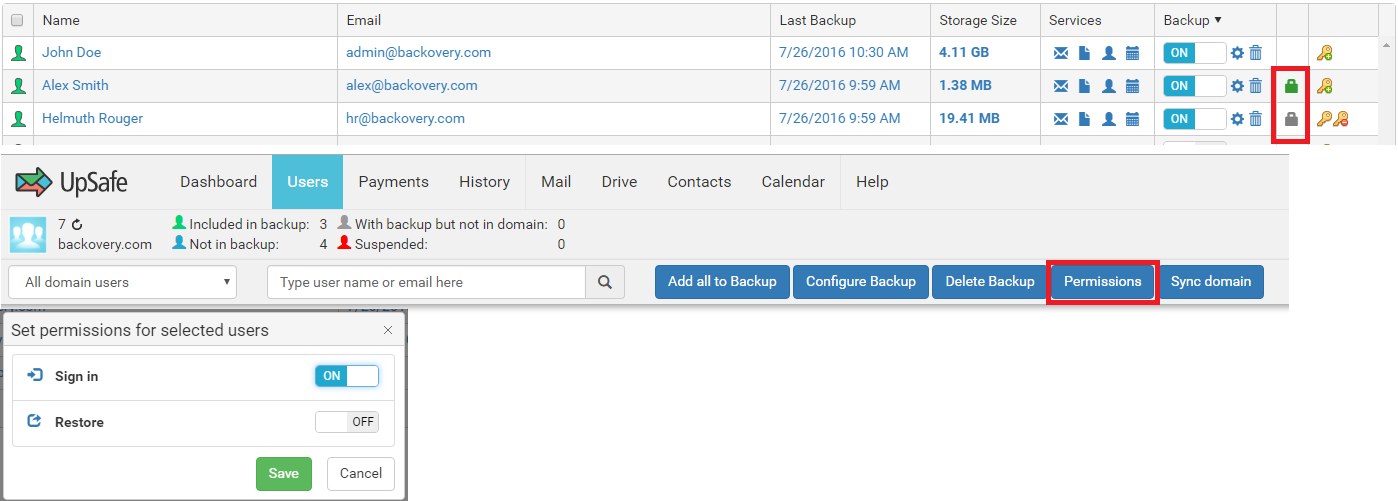
34. User permissions. There are two non-admin features that are disabled by default: the ability to restore items and sign in to the Cloud Apps Backup. A lock icon indicates which features are available. Gray color means all features are disabled. Yellow color means one of the features is disabled. Green color indicates that all features are available. To set user permissions, click on the corresponding lock icon or the Permissions button.
The backup is scheduled to run at least 4 times a day automatically